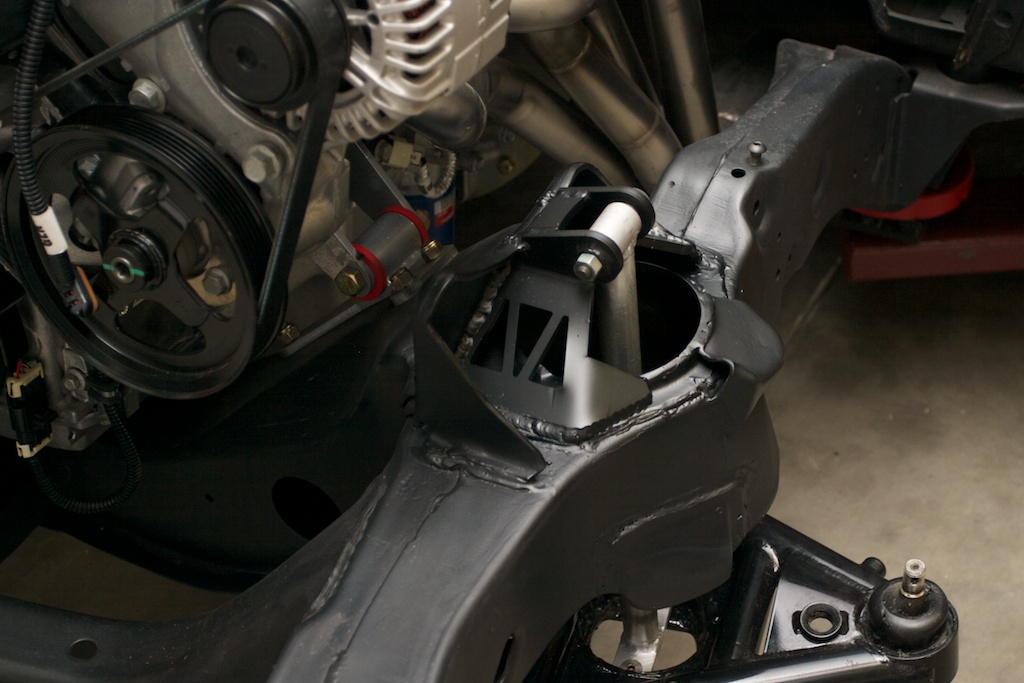
We’ve made more progress on the 69 Camaro getting a high-end Pro-Touring upgrade here in the Fab Shop. We’ve just finished installing the DSE Quadra-Link rear suspension along with welding in the Speedtech Chicane front coil over adapter. Both systems are supposed to be installed by using the coilover shock to guide where the upper mount is supposed to go.
But we had a better idea…

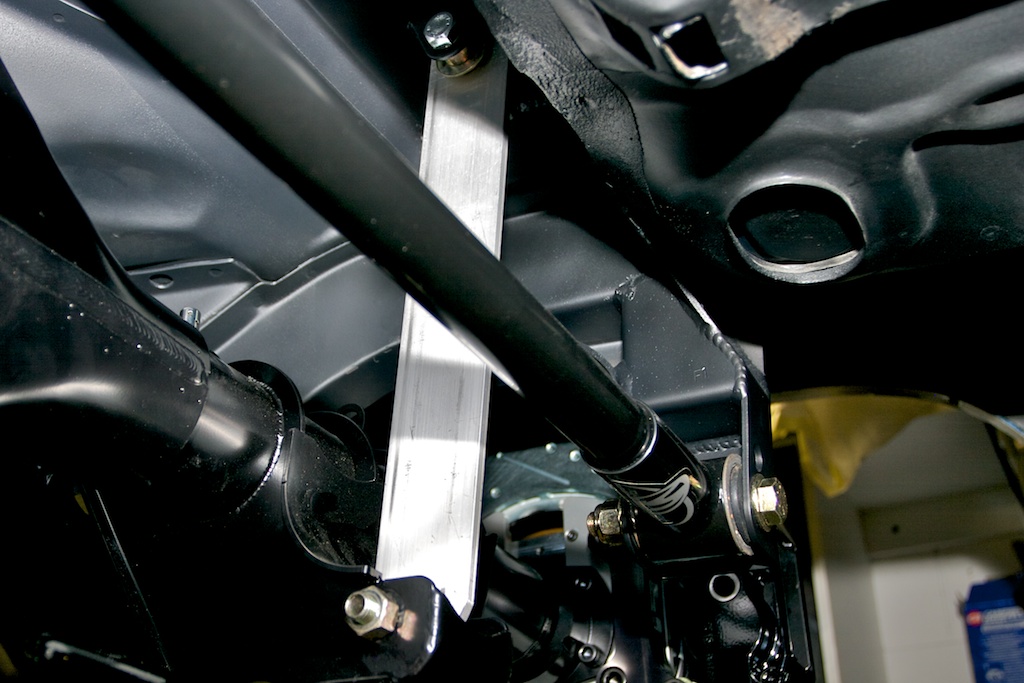
Just a piece of aluminum, but the square edges allows for great accuracy when locating the upper shock mount.
Instead of using the shock itself to locate the upper mount point, we made some shock simulators out of aluminum bar we had lying around. Using a simulator instead of the real shock is really helpful for getting square measurements, because you can make them from flat surfaces, and you can ensure that all the mounting angles are at 90*. The simulators for the rear suspension is just a couple of pieces of 1/4 x 2″ flat aluminum with 1/2″ holes drilled in either end. It’s plenty strong and able to hold everything exactly in place as you tack weld the upper mounts. Washers or shims can quickly fill the space where the 1/4″ thickness of the aluminum was thinner than the shock would be.
The simulators for the front suspension are a bit trickier, but still not that difficult to make. Other advantages of not using the real shock is that the simulators are lighter, you can toss them around since it doesn’t matter if they get scratched, and you can weld with them installed and not worry about burn marks. Plus they give you more room to maneuver your welding torch.
And finally, in a pinch, you can roll the vehicle around on shock simulators while it’s being built without the hassle of installing the coil over assembly.


